

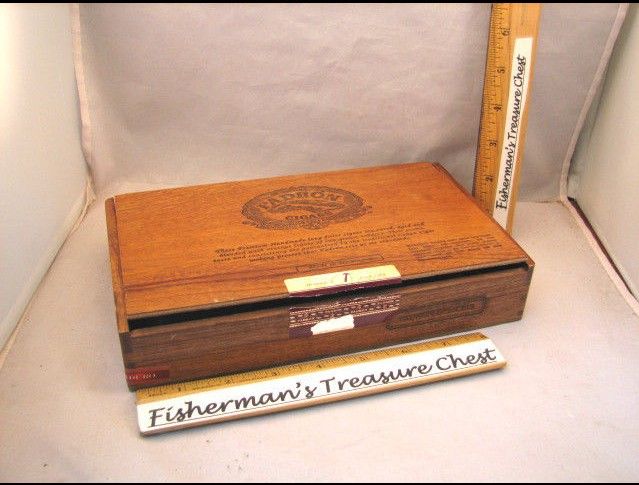
The guiding dimension here was the soprano scale length. I wanted the 12th fret to be at the body edge.
I also wanted the bridge to be well clear of the box edge at the bottom to clear the tuners.This gave an indication of the box length.
The width needed to be the least possible in keeping with the overall appearance.
A search on Ebay located this box in Florida. it is amazing how many sellers of these boxes don't provide the box dimensions. How difficult can it be, just add a ruler to the picture to take for the listing.
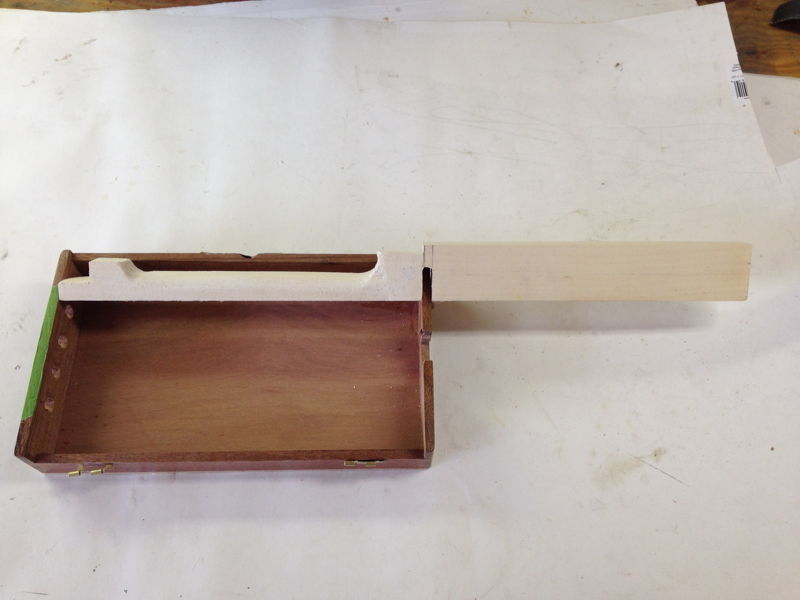
The main strength comes from a spine made from popular (all I had to hand).
This is glued to the box at the half joint and along the bottom
This is glued to the box at the half joint and along the bottom
The main strength comes from a spine made from popular (all I had to hand).
This is glued to the box at the half joint and along the bottom
This is glued to the box at the half joint and along the bottom
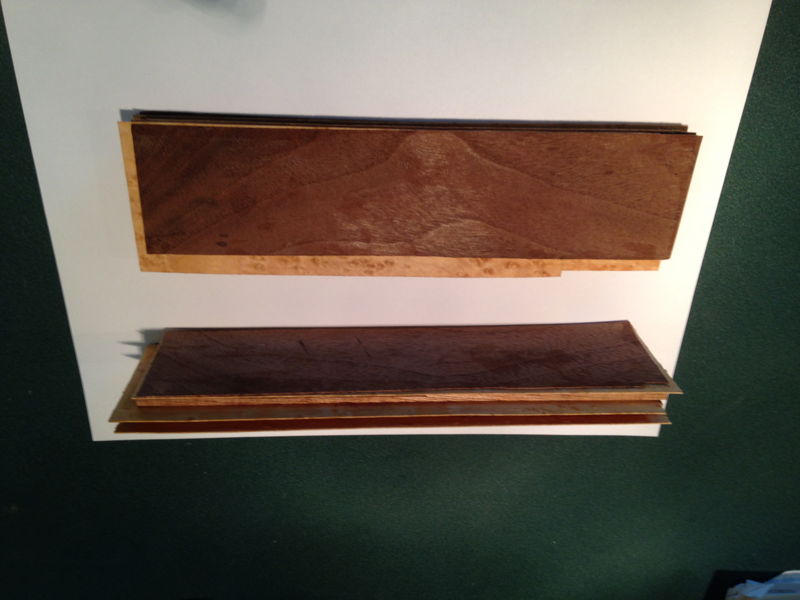
The neck width is built up from two veneer packs which are glued to either side of the spine.
These were made from walnut and sycamore veneers and mahogany trim pieces.
These were made from walnut and sycamore veneers and mahogany trim pieces.
The neck width is built up from two veneer packs which are glued to either side of the spine.
These were made from walnut and sycamore veneers and mahogany trim pieces.
These were made from walnut and sycamore veneers and mahogany trim pieces.
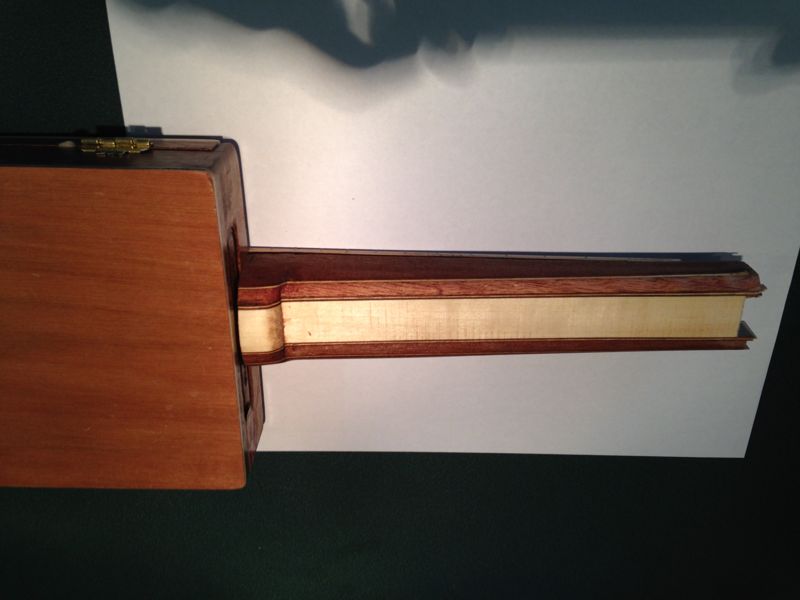
The finished pack was then shaped to make the neck profile.
In the end I removed the small heel shown here and just went straight into the body.
In the end I removed the small heel shown here and just went straight into the body.
The finished pack was then shaped to make the neck profile.
In the end I removed the small heel shown here and just went straight into the body.
In the end I removed the small heel shown here and just went straight into the body.
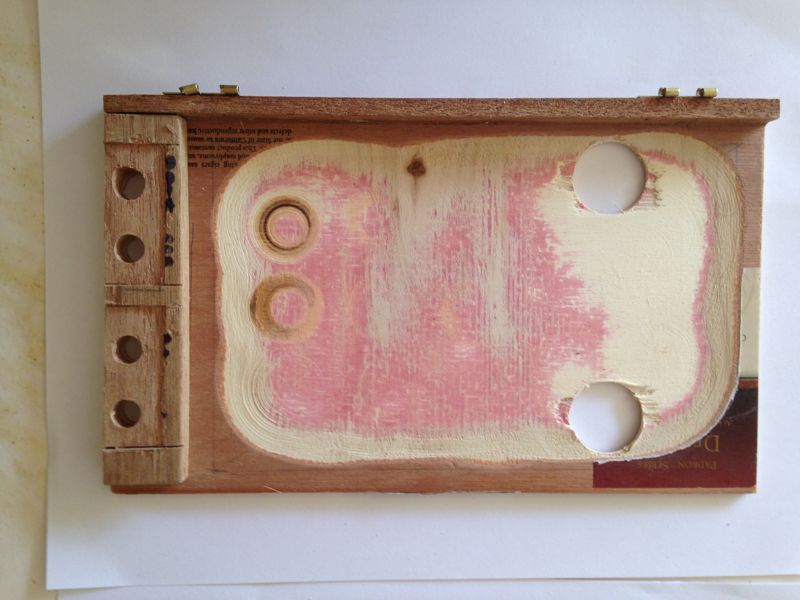
I also thinned the top by removing one of the three plywood layers. This thinning is done using a small circular abrasive pad mounted in the drill press.
Here you can also see the tuner mounting bar and the two sound holes.
Here you can also see the tuner mounting bar and the two sound holes.
I also thinned the top by removing one of the three plywood layers. This thinning is done using a small circular abrasive pad mounted in the drill press.
Here you can also see the tuner mounting bar and the two sound holes.
Here you can also see the tuner mounting bar and the two sound holes.
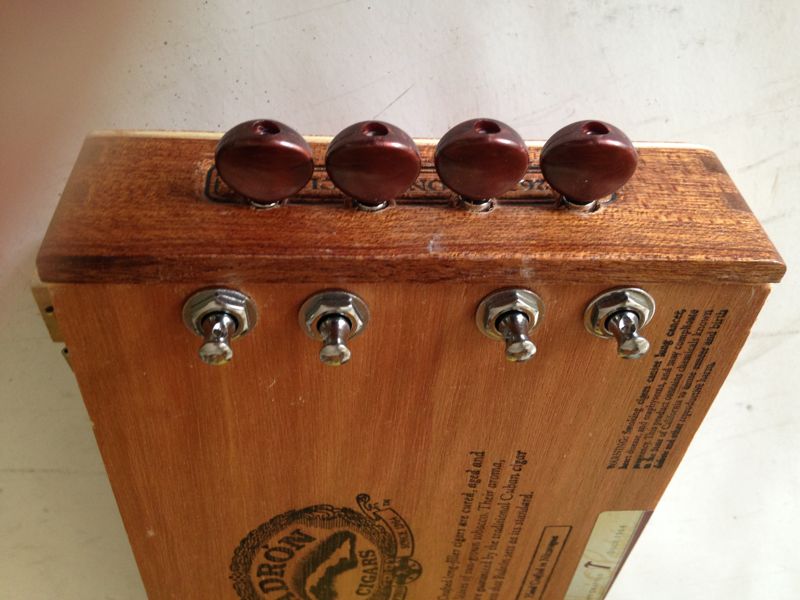
Here are the tuners mounted on the and protruding through the end.
The problem of transferring the post locations from the top to the end was solved using pieces of paper and felt tipped pens.
The problem of transferring the post locations from the top to the end was solved using pieces of paper and felt tipped pens.
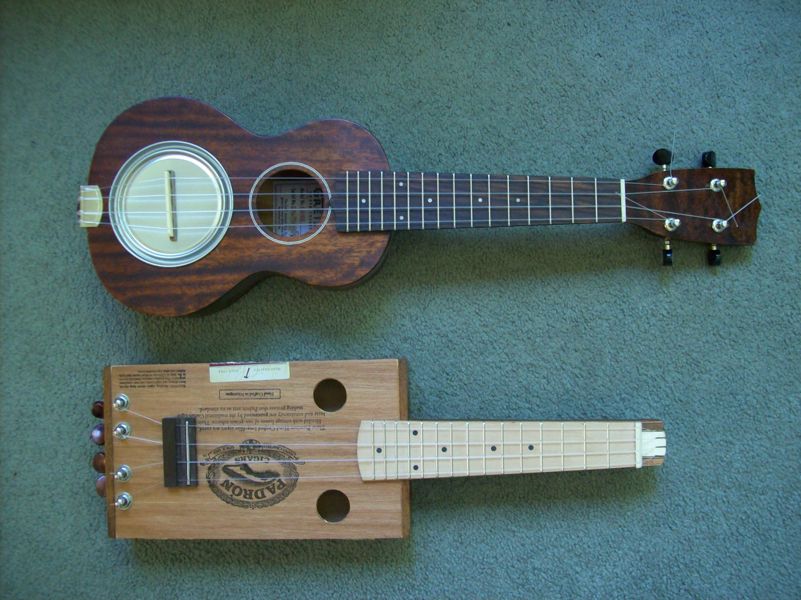
Here is the finished ukulele. The strings are held at the top using the slot and knot fixings.
At the other end they go over the saddle and through the normal loop holes in the bridge and then off to the tuners.
You can see it is much smaller than the comparison Gretsch soprano.
Perfect for packing in the back pack and no batteries required!
At the other end they go over the saddle and through the normal loop holes in the bridge and then off to the tuners.
You can see it is much smaller than the comparison Gretsch soprano.
Perfect for packing in the back pack and no batteries required!
WORKSHOP PROJECT
CIGAR BOX SOPRANO TRAVELER
CIGAR BOX SOPRANO TRAVELER
SPRINGFIELD UKULELE
Incorporating The Ukuleleist, Springfield Uketopians and the Lei-Abouts
WORKSHOP PROJECT
TRAVELER
TRAVELER
SPRINGFIELD UKULELE
Incorporating The Ukuleleist and Springfield Uketopians
SPRINGFIELD UKULELE
Incorporating The Ukuleleist and Springfield Uketopians